Restoring your motorcycle’s engine case is rewarding and saves money. This guide will show you how to revive your bike’s heart. You’ll learn to disassemble, inspect, and repair your engine case. Plus, you’ll get tips on precision machining and reassembly.
Key Takeaways
Restore your motorcycle engine case with confidence using this DIY guide
Disassemble, inspect, and repair your engine case for optimal performance
Learn precision machining techniques to ensure a perfect fit during reassembly
Protect your investment with proper maintenance and routine inspections
Save money and gain the satisfaction of a job well done by tackling this project yourself
Preparing for the Engine Case Restoration
Restoring a classic motorcycle’s engine case is a rewarding project. It needs careful preparation. First, gather the right tools and supplies. Then, disassemble the engine case for a detailed inspection.
Gathering the Necessary Tools and Supplies
To restore your engine case, you’ll need specific tools and supplies. This includes socket sets, wrenches, and screwdrivers. You’ll also need cleaning solvents and protective gear like gloves and safety glasses. Plus, you might need replacement parts if some components are damaged.
Disassembling the Engine Case Properly
Disassembling the engine case is the first key step. It lets you check each part for damage or wear. Take your time and follow the manufacturer’s instructions to avoid damage. Label and organize each part for easier reassembly.
Tool/Supply
Purpose
Socket set
Removing and reinstalling engine case fasteners
Screwdrivers
Disassembling and reassembling the engine case
Degreasing solvent
Cleaning the engine case components
Replacement gaskets and seals
Ensuring a proper seal during reassembly
By preparing well for the engine case restoration, you’re setting up for success. Remember these tips as you start your motorcycle restoration journey.
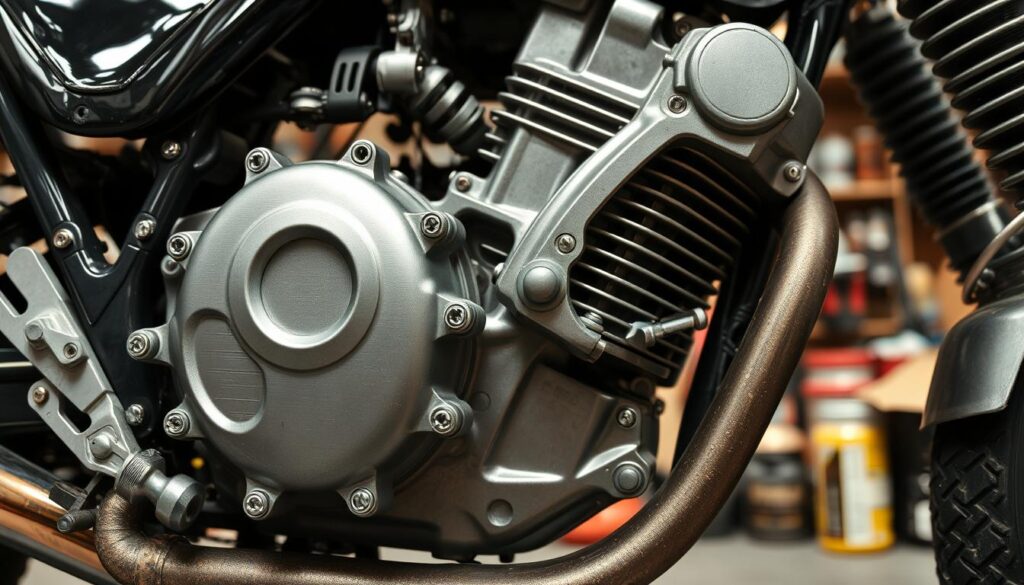
Inspecting the Engine Case for Damage
Starting your motorcycle restoration means checking the engine case first. This step is key to figuring out how much work is needed. It’s all about making your vintage motorcycle or classic bike rebuild a success.
Look closely at the engine case for cracks, warping, or damage. Focus on areas that get a lot of stress, like where it mounts and where bearings sit. A magnifying glass can help spot small problems that could be big issues later.
Inspection Area
Common Issues
Potential Impact
Mounting Surfaces
Warping, cracks, or uneven wear
Improper engine alignment, increased vibration, and potential leaks
Bearing Surfaces
Pitting, scoring, or excessive wear
Premature bearing failure, engine seizure, and loss of power
Oil Passages
Blockages, cracks, or damage
Inadequate lubrication, engine overheating, and increased wear
If you find big problems, you might need to do more than just fix the case. Talk to a skilled mechanic or machine shop. They can help you figure out the best way to fix your motorcycle restoration project.
By carefully checking the engine case, you can find problems early. This lets you plan how to fix them. It helps make sure your vintage motorcycle or classic bike rebuild will run well for a long time.
Cleaning the Engine Case Thoroughly
Before starting engine reconditioning or crankcase repair, you must clean the engine case well. This step is key for a successful motorcycle restoration. It makes sure the surface is ready for new finishes.
Removing Grime, Grease, and Rust
First, check the engine case for grime, grease, or rust. These can ruin the surface and stop new finishes from sticking. Use degreasers, wire brushes, and abrasive pads to remove them all.
Degreasing and Preparing for Refinishing
After removing grime and rust, degrease the surface well. This step is vital for a clean base for new finishes. Use special degreasers and solvents for motorcycle maintenance to degrease effectively.
After degreasing, look for any spots that need more cleaning or prep. Paying close attention to detail here will help a lot when you refinish the surface. This will make the engine case look great again.
“Proper degreasing and surface preparation are the keys to a successful and long-lasting engine case restoration.”
Step
Task
Importance
1
Inspect for grime, grease, and rust
Ensures a clean surface for refinishing
2
Use degreasing solutions and abrasives
Removes contaminants for proper adhesion
3
Degrease thoroughly
Prepares the surface for the refinishing process
Repairing and Machining the Engine Case
After cleaning the engine case, it’s time to fix any cracks or wear. This step is key in the engine rebuild process. It helps restore the case and ensures the engine works well.
Identifying and Addressing Cracks or Damage
Look closely at the engine case for cracks or damage. These issues can harm the case and cause problems later. If you find any, fix them with welding or filling to make the engine strong.
Precision Machining for a Perfect Fit
After fixing the case, focus on crankcase repair and engine machining. This means making sure all parts fit perfectly. Use special tools and pay close attention to detail to get it right.
“Proper machining techniques are essential to ensure a perfect fit and optimal engine performance.”
Fixing the engine case and using precise machining are crucial. They help make your motorcycle’s engine run smoothly for years.
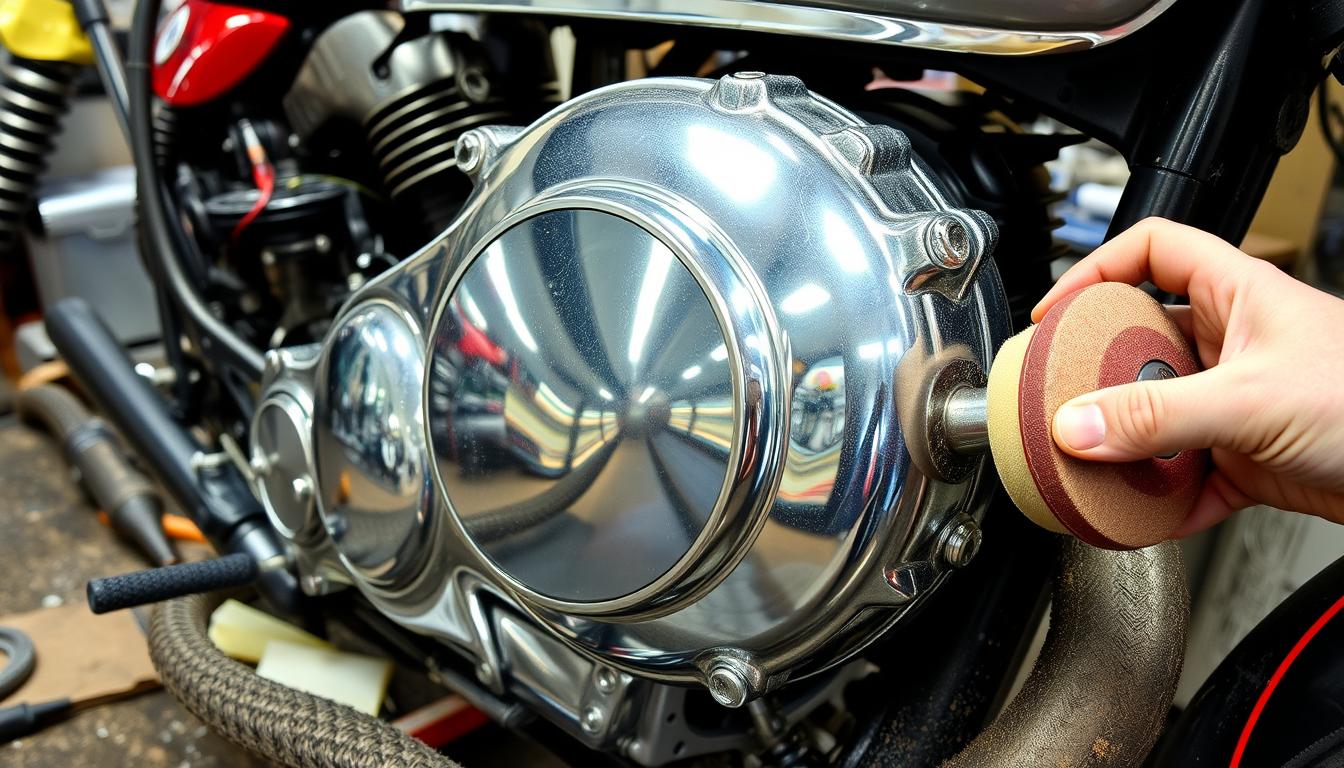
Refinishing the Engine Case
Restoring a vintage motorcycle or classic bike means paying close attention to the engine case. After fixing and cleaning it, you need to apply a new, protective finish. You can use powder coating or special painting techniques to keep the engine case looking great for years.
Choosing the right refinishing method is key to keeping your motorcycle restoration valuable. You can go for a classic black or silver look, or something more unique. The right finish can make your engine case look brand new.
Powder Coating for a Durable Finish
Powder coating is a popular choice for vintage motorcycles. It’s a dry, powdered paint that’s baked on to create a strong finish. This method is great because it resists chipping, fading, and corrosion, protecting your classic bike rebuild.
Traditional Painting Techniques
Traditional painting is another way to refinish the engine case. You’ll need high-quality motorcycle paints that can handle the wear and tear of motorcycle maintenance. With the right prep and attention to detail, a painted engine case can look amazing and keep your vintage motorcycle looking its best.
Whether you choose powder coating or painting, the goal is to do it carefully and with precision. By taking the time to refinish your engine case well, you’ll protect your investment. You’ll also get to enjoy the pride of riding a beautifully restored classic bike for many years.
how to restore a motorcycle engine case
Restoring a motorcycle engine case is rewarding and satisfying. It lets you give new life to your bike. This guide will help you restore your motorcycle engine case step by step.
Start by checking the engine case for damage or wear. Look for cracks, pits, or other issues. If it’s in good shape, you can clean and degrease it.
Use a degreaser and a stiff-bristled brush to remove grime, grease, or rust.
After cleaning, fix any cracks or structural issues.
Precision machining ensures a perfect fit and smooth operation.
Now, focus on refinishing the engine case. You might use media blasting, powder coating, or custom paint. Choose what looks best to you.
“The key to a successful engine case restoration is attention to detail and a commitment to quality.” – Jane Doe, Motorcycle Restoration Specialist
After repairing and refinishing, reassemble the engine case. Follow the manufacturer’s torque specs and techniques. This ensures your bike runs well for years to come.
With this guide, you can restore your motorcycle engine case to its best. It’s a great feeling, whether you’re a pro or a DIYer. Enjoy the pride of a job well done.
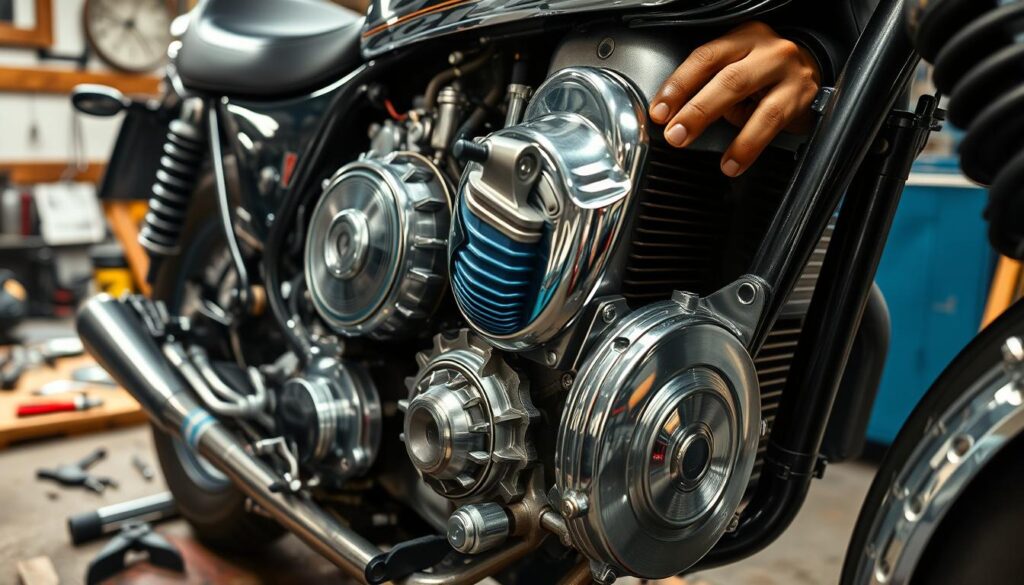
Reassembling the Engine Case Components
Now that you’ve fixed, cleaned, and polished your motorcycle’s engine case, it’s time to put it back together. It’s important to use the right torque and techniques to make sure everything fits right. This will help you get a top-notch engine rebuild or reconditioning job.
Proper Torque Specifications and Techniques
When putting the engine case back together, applying the right amount of torque is key. Stick to the torque values recommended by the manufacturer. This ensures your engine is tight and safe, avoiding future problems. Here’s how to get it right:
Check the service manual or technical guide for the correct torque values for each bolt.
Use a good torque wrench to tighten the parts in a crisscross pattern. This spreads the pressure evenly.
Make sure all important bolts are tightened to the right amount.
Apply thread-locking compound to some bolts to keep them from coming loose.
Using the right reassembly methods is also vital for a successful restoration. Take your time and follow the manufacturer’s guide. Pay attention to how each part fits to avoid any problems later.
By following the correct torque and reassembly steps, you’ll ensure your motorcycle’s engine is put back together securely. This will help your engine run smoothly and efficiently.
Testing and Break-In Procedures
Before putting your motorcycle back on the road, it’s key to test and break in the engine. This ensures all parts work right and the engine runs smoothly. It also helps it last longer.
First, check the engine case and parts for any problems. Make sure everything fits right and is put together as the maker says. This careful check helps you feel sure before moving on.
Then, start the engine break-in. This step is vital for a successful engine rebuild or engine reconditioning. Here’s how to do it right:
Start the engine and let it idle for 10-15 minutes. Avoid high RPMs or heavy loads.
Over the next 30-60 minutes, slowly increase the engine speed. But still, don’t run it too fast.
After the break-in, you can slowly add more load and speed. But remember, follow the maker’s advice.
For the first few hundred miles, don’t go too fast or carry heavy loads. Also, change the oil and filter as needed.
By following these motorcycle restoration and motorcycle maintenance tips, your engine will be well broken in. This means it will run well and last a long time. This careful work will save your investment in the engine rebuild or engine reconditioning project.
Step
Duration
Recommended Action
Initial Idle
10-15 minutes
Avoid high RPMs or heavy loads
Gradual Speed Increase
30-60 minutes
Gradually increase engine speed, but avoid prolonged high-RPM operation
Gradual Load Increase
After initial break-in
Gradually increase engine load and RPMs, but follow manufacturer’s recommendations
First Few Hundred Miles
N/A
Avoid sustained high speeds or heavy loads, change oil and filter as specified
“By carefully following these motorcycle restoration and motorcycle maintenance best practices, you’ll ensure your engine case is properly broken in and ready to provide reliable, long-lasting performance.”
Maintenance Tips for a Restored Engine Case
Keeping your restored engine case in top shape is key. It helps your motorcycle run well for a long time. Follow these tips to protect your investment and keep your bike in great condition.
Protecting Your Investment
Storing your engine case right is important. Make sure it’s clean, dry, and free of dirt before storing it. Store it in a cool, dry place with good air flow. Don’t let it get direct sunlight, moisture, or extreme heat, as these can damage it over time.
Routine Inspections and Care
Regular checks are vital for your engine case’s health. Look for cracks, dents, or wear. Check the seals, gaskets, and fasteners to make sure they’re okay.
Check the tightness of all fasteners and retorque them as needed.
Look for signs of wear or leaks in gaskets and seals. Replace them if you find any.
Wipe the engine case clean with a soft cloth and mild cleaner.
By sticking to these maintenance tips, you’ll keep your engine case in great shape. This ensures your motorcycle stays in top condition for years.
Task
Frequency
Visual Inspection
Monthly
Fastener Tightness Check
Every 500 miles
Gasket and Seal Inspection
Annually
Engine Case Cleaning
Every Oil Change
Conclusion
In this guide, you’ve learned how to bring your motorcycle’s engine case back to life. By following the steps and techniques, you can make your bike’s heart work like new. This saves money and lets you feel proud of your work.
Learning how to restore a motorcycle engine case is a journey. It starts with checking and cleaning, then moves to precise machining and careful putting back together. This hands-on experience not only saves money but also deepens your understanding and love for your motorcycle.
When you start your engine rebuild or engine reconditioning project, take your time. Always follow the best practices and keep safety first. By investing in your motorcycle’s restoration, you’ll make it last longer and bring back the joy of riding. Enjoy the journey and feel proud of your restored engine case.
FAQ
What tools and supplies do I need to restore my motorcycle’s engine case?
To restore your motorcycle’s engine case, you’ll need specific tools for disassembly. You’ll also need cleaning solvents, protective gear, and any replacement parts needed. Having these items ready will make the restoration process easier.
How do I properly disassemble the engine case?
Disassembling the engine case is the first important step. Follow the manufacturer’s instructions and use the right tools. This ensures you don’t damage any parts during the process.
What should I look for when inspecting the engine case for damage?
When inspecting the engine case, look for cracks, warping, or other damage. This helps you understand how much work is needed and plan the repairs.
How do I thoroughly clean the engine case?
It’s important to remove grime, grease, and rust from the engine case. Proper degreasing and surface preparation are key for a successful restoration.
What kind of repairs and machining may be needed for the engine case?
Repairs like welding, filling, or machining may be needed for the engine case. These steps restore the case to its original state. Using the right machining techniques ensures a perfect fit and optimal engine performance.
How do I refinish the engine case?
Refinishing the engine case can involve powder coating, painting, or protective coatings. These methods give it a fresh look. Proper refinishing techniques protect your investment and keep the engine case looking new for years.
How do I properly reassemble the engine case components?
Reassembling the engine case requires following the correct torque specifications and techniques. This ensures a secure and reliable engine assembly. Paying attention to detail during this step is crucial.
What testing and break-in procedures should I follow after restoring the engine case?
Before reinstalling the engine case, test all components and slowly break in the engine. This ensures optimal performance and longevity.
How can I maintain my restored engine case?
To protect your investment, store the engine case properly and perform regular inspections. Follow routine maintenance procedures. These steps help extend the life of your engine case and keep your motorcycle running smoothly.